Kitchen Renovation & Home Improvement
The single biggest mistake in kitchen budgeting isn’t overspending. It’s spending the money in the wrong order — visible finishes first, invisible infrastructure as an afterthought.
Kitchen renovations are consistently among the most expensive projects a homeowner takes on, and they’re also among the most poorly sequenced financially. The typical pattern goes something like this: someone falls in love with a countertop material or a particular style of cabinet door, builds an entire budget imagination around that visible element, and only later — sometimes mid-project, sometimes after a contractor has already opened a wall — discovers that the electrical panel can’t support the new appliances, or that the plumbing behind the sink is decades past its intended lifespan, or that the subfloor needs reinforcement before anything else can happen. At that point, the money that was meant for the beautiful countertop gets redirected to infrastructure nobody can see, and the whole project either goes over budget or the visible finishes get quietly downgraded to compensate for a surprise nobody planned for.
The better approach inverts the instinctive order. Infrastructure — the things you’ll never see once the project is finished, but which everything else depends on — comes first in the budget, not last. Only once that’s accounted for does it make sense to think about where the remaining money produces the most visible, daily, felt improvement. This guide walks through both halves: what belongs in the non-negotiable infrastructure category, then a framework for deciding where splurging genuinely pays off and where it’s mostly ego, followed by the layout question, the contingency habits that keep a project on track, and the sequencing decisions that prevent expensive mid-project surprises.
01Infrastructure first: the money you don’t get to see
Before any conversation about countertops or cabinets, a kitchen renovation budget needs to account for what’s behind the walls, because problems discovered mid-project are dramatically more expensive to fix than problems planned for from the start. Electrical capacity is the most common surprise. Older homes were wired for a kitchen with a refrigerator, a stove, and maybe a toaster — not for the dishwasher, microwave, induction cooktop, wine fridge, and multiple small appliances a modern kitchen expects to run simultaneously without tripping a breaker. If your panel or circuit capacity can’t support the appliances you’re planning to install, that upgrade has to happen, and it has to happen before drywall goes back up, not after the kitchen is otherwise finished.
Plumbing deserves the same upfront scrutiny, particularly in older homes where pipe materials may be approaching or past their reasonable service life, or where a layout change — moving a sink or dishwasher to a new location — requires entirely new supply and drain lines run through walls or floors that will otherwise be finished and closed up. Discovering corroded or undersized pipes after the new floor is down is one of the most expensive renovation mistakes possible, because it means undoing finished work to fix something that should have been assessed and addressed at the very start of the project, before any of the visible finishing work began.
Ventilation is the third major infrastructure item, and it’s frequently underbudgeted: a range hood that actually vents to the outside, sized correctly for your cooktop’s output, does far more for air quality, grease control, and long-term cabinet and paint condition than most homeowners realize until they’ve lived without one for a while and noticed the cumulative grease film and lingering cooking odors. A hood that merely recirculates air through a charcoal filter is a compromise, not a real solution, and it’s worth budgeting for proper external ducting during a renovation rather than settling for a recirculating unit because running new ductwork seems like an inconvenient extra step at the planning stage.
Structural and subfloor issues round out the list, and they’re the hardest to estimate without an inspection, which is precisely why a pre-renovation inspection is worth its cost regardless of how confident you feel about the home’s general condition. If you’re removing a wall, even a non-structural-seeming one, reconfiguring the layout significantly, or your home is old enough that settling and moisture damage are plausible, a contractor or structural engineer should assess this before a final budget is set, not after demolition reveals a surprise that then has to be accommodated on the fly. Insulation and air sealing, while less dramatic, belong on this list too if you’re opening up walls anyway — it’s a relatively small incremental cost when the wall is already open, and a much larger one if you have to reopen a finished wall specifically to add it later, after the fact.
| Infrastructure item | Why it can’t wait | Cost if deferred |
|---|---|---|
| Electrical capacity | Modern appliances need more power than old wiring provides | Reopening finished walls; possible fire risk if ignored |
| Plumbing condition & layout | Old or undersized pipes fail; layout changes need new lines | Water damage; redoing new flooring or cabinetry |
| Ventilation | Recirculating hoods don’t remove heat, moisture, grease | Cabinet and paint degradation; poor air quality long-term |
| Structural / subfloor | Removing walls or heavy new materials may need reinforcement | Safety risk; major rework mid-project |
| Insulation / air sealing | Cheap while the wall is open, expensive once it’s closed | Reopening a finished wall to add it later |
The practical rule that follows: get a qualified contractor or inspector to assess electrical, plumbing, and structural condition before finalizing your budget, and build in a contingency of roughly fifteen to twenty percent of the total project cost specifically for infrastructure surprises. This isn’t pessimism — it’s the single most reliable predictor of whether a renovation finishes on budget. Projects that blow their budget almost always do so because of infrastructure issues discovered mid-project, not because the countertop ended up costing slightly more than the original estimate suggested it would.
02Where splurging genuinely pays off
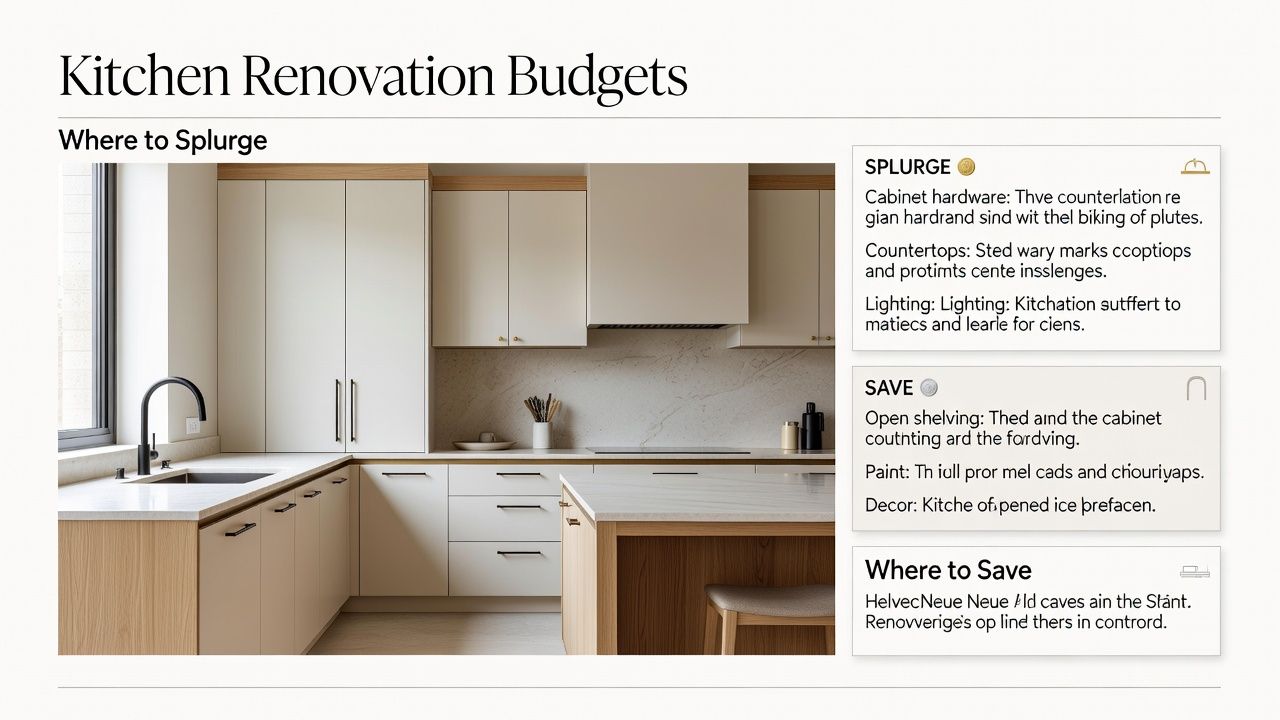
Once infrastructure is accounted for, the remaining budget question is where extra spending produces value that lasts and is felt daily, versus where it produces a marginal aesthetic gain that fades within a few years of normal wear and tear. Cabinetry is the strongest case for spending near the top of your range, because it’s both the largest visual element in most kitchens and the hardest and most expensive thing to redo later — cabinet boxes, in particular, are worth paying for solid, well-built construction, real wood or high-quality plywood boxes rather than the thinnest particleboard, even if you save elsewhere on door style or finish, because the box is what determines whether drawers still glide smoothly and doors still hang straight in fifteen years. A beautiful door front on a cheap box is a renovation that looks good in photographs and disappoints in daily use within a few years, as hinges sag and drawer runners start to stick.
Countertops are the second strong case for spending well, both because they take an enormous amount of daily contact and abuse — hot pans, knives, spills, acidic foods — and because they’re expensive and disruptive to replace once installed, involving tearing out and reinstalling around sinks, appliances, and backsplashes. This doesn’t necessarily mean the most expensive material available; it means choosing a material appropriate to how you actually cook and live, in the best quality tier of that material you can afford, rather than the cheapest version of a premium material or a trendy material that won’t hold up to your actual habits. A detailed comparison of specific countertop materials and their real-world durability is worth its own dedicated read, since the right choice depends heavily on your cooking style and maintenance tolerance rather than on what happens to be fashionable this year.
Good hardware — hinges, drawer slides, cabinet pulls — is a smaller line item that punches well above its cost, because cheap hinges and slides are exactly what makes a kitchen feel worn out within a few years even when everything else still looks fine on the surface. Soft-close, full-extension drawer slides and quality hinges are a modest incremental cost over builder-grade hardware and one of the most noticeable quality differences in daily use, felt every single time a drawer or door is opened. Lighting, covered in more depth elsewhere, is another area where spending on quality fixtures and proper layering — task, ambient, and accent light working together — delivers daily value disproportionate to its share of the overall budget.
The daily-contact test
Before deciding where to splurge, ask how many times a day you’ll physically touch or look closely at each element. Cabinet doors, countertops, faucet, and drawer hardware win this test easily — you touch them dozens of times daily. A decorative range hood cover or an elaborate tile pattern behind a rarely-used wet bar loses it. Spend where contact frequency is highest.
03Where saving is smart, not a compromise
Certain categories offer real savings with minimal downside, because the expensive version and the moderate version genuinely perform close to identically in daily use. Appliances are the clearest example, and this cuts against a lot of instinctive spending: mid-range appliances from established brands perform extremely well for the overwhelming majority of home cooking, and the jump from a solid mid-range range or refrigerator to a premium professional-style equivalent often buys a look and a brand more than it buys meaningfully better cooking or storage performance for a typical household. This isn’t universal — a serious, frequent baker genuinely benefits from a better oven’s temperature accuracy and even heating, and a large household may genuinely need a larger-capacity refrigerator — but the instinct to default to the top tier “because it’s a kitchen renovation” is worth questioning honestly against your actual cooking habits rather than accepted as a given.
Backsplash tile is another area where moderate spending goes a long way, because a smaller, contained area, compared to countertops or flooring, means even a relatively expensive-per-square-foot material represents a modest total cost, and a simple, well-installed tile in a moderate price range often looks just as good as a dramatically more expensive option once it’s on the wall and surrounded by cabinetry and countertop. Flooring outside the kitchen’s immediate work zone, cabinet interiors and organizational hardware beyond the basics, and decorative elements like open shelving brackets or cabinet glass inserts are all reasonable places to choose the moderate option and redirect the savings toward infrastructure or the high-contact items above where the money will actually be felt every day.
Paint is perhaps the most extreme case of low-cost, high-impact spending, and it’s worth calling out explicitly because it’s so often treated as an afterthought at the very end of a project: a well-chosen wall color and a quality paint job cost a small fraction of almost any other renovation line item and meaningfully change how a finished kitchen feels the moment you walk into it. If the budget is tight, this is one of the last places to cut, not because premium paint dramatically outperforms mid-range paint, but because paint overall is cheap enough that it barely moves the needle on total budget even at a generous spec, so there’s little real saving to be had by cutting corners here in the first place.
| Category | Spend well | Save comfortably |
|---|---|---|
| Cabinetry | Box construction, hinges, slides | Door style, decorative trim |
| Countertops | Material suited to real use; quality tier | Exotic edge profiles, rare slabs |
| Appliances | Reliability, capacity matched to household | Professional-tier branding, extra features |
| Lighting | Layered design, task lighting placement | Decorative statement fixtures |
| Backsplash | Good installation | Premium tile material |
| Paint | A quality job overall — it’s cheap regardless | Not much to save here either way |
04Layout changes: the most expensive decision in the whole project
A distinct budget question, separate from finishes and appliances, is whether you’re keeping the existing footprint or changing it — moving the sink, relocating the stove, knocking down a wall, extending the space into an adjacent room. This decision has an outsized effect on total cost because it cascades through plumbing, electrical, ventilation, and often structural work simultaneously, and it’s worth being deliberate about rather than deciding it casually because a particular layout looks appealing in a magazine photograph. Keeping major fixtures — sink, stove, major appliance locations — roughly where they are and focusing the budget on materials, storage, and finishes is dramatically cheaper than a full reconfiguration, and for many households it delivers nearly as much functional improvement as the more expensive alternative would.
Where a layout change genuinely earns its cost is when the existing layout has a real functional problem — a cramped, poorly organized workflow between the sink, stove, and storage; a kitchen that’s isolated from where people actually gather and socialize; genuinely insufficient storage or counter space for the household’s needs. Guidance on functional kitchen layout principles from bodies like the National Kitchen & Bath Association is worth consulting at the planning stage if a layout change is on the table, since a poorly planned new layout is an expensive way to trade one set of workflow problems for a completely different set. The general principle: reconfigure the layout only when there’s a specific, well-defined functional problem to solve, and be honest about whether that problem is really about the layout or is actually about storage organization and finishes, which are far cheaper to fix without moving a single wall or pipe.
05Contingency, sequencing, and staying on budget
Beyond the category-by-category decisions, a few structural habits determine whether a kitchen renovation stays on budget more reliably than any individual material choice. Build a genuine contingency fund — the fifteen to twenty percent figure mentioned earlier for infrastructure applies to the project overall, and treating it as truly untouchable until an actual surprise arises, rather than spending it upfront on upgraded finishes because it’s “just sitting there” unused, is what makes it useful when a genuine surprise does show up, which in older homes it very often does at some point during demolition or the early stages of the work.
Get multiple detailed quotes, and make sure they’re itemized rather than lump-sum, since an itemized quote lets you compare like for like across contractors and makes it much easier to identify where one bid is cutting corners that another isn’t. Sequence decisions correctly: finalize infrastructure needs, then layout, then cabinetry, since cabinets often dictate the exact dimensions everything else needs to fit, then countertops, then appliances, then finishes like backsplash and paint. Making decisions out of this order — falling in love with a specific appliance before cabinet dimensions are set, for instance — is a common source of expensive mid-project changes and awkward last-minute compromises that a more disciplined sequence would have avoided entirely.
Finally, be realistic about timeline, since delays cost money in ways that aren’t always obvious — extended contractor time, temporary kitchen setups, and the general tendency for a longer project to accumulate more change orders as decisions get revisited under time pressure. Energy-efficient appliance and lighting choices are also worth factoring into the long-term budget rather than just the upfront one; the ENERGY STAR program maintains guidance on efficient appliances and their typical operating cost savings, which can meaningfully offset a somewhat higher purchase price over the appliance’s actual working lifetime in the kitchen.
06Working with contractors without losing control of the budget
A final, often overlooked piece of budget discipline concerns how change orders are handled once work is underway, since this is where a well-planned budget most commonly unravels in practice. Agree in writing, before work begins, on exactly how any change beyond the original scope will be priced and approved, so that a mid-project decision to swap a material or add a feature doesn’t happen verbally on-site with the actual cost only becoming clear on the final invoice. Ask your contractor to flag any discovery during demolition that might affect the infrastructure contingency immediately, rather than proceeding on their own judgment and presenting it as a fait accompli later, since you may have options they aren’t aware you’d prefer to consider, including scaling back elsewhere to accommodate an unexpected but necessary infrastructure fix.
The overarching principle worth carrying through the entire budgeting process is that a kitchen renovation is really two separate projects sharing one number: an infrastructure project that nobody will ever see or compliment, and a finishes project that’s what actually shows up in photographs and gets noticed by guests. Fund the invisible project first and completely, size the visible project to what’s left, and within that visible budget, spend disproportionately on what you’ll touch and look at daily — cabinetry, countertops, hardware, lighting — while saving comfortably on appliance branding, decorative extras, and anything you’ll walk past more than you’ll actually use. Get that sequence right, and a kitchen renovation is far more likely to finish close to its original number and to still feel worth the money five years later, not just on the day the plastic comes off the countertops and the photographer arrives.